Product
How to Set the Time on a G-Shock: Complete 2026 Guide

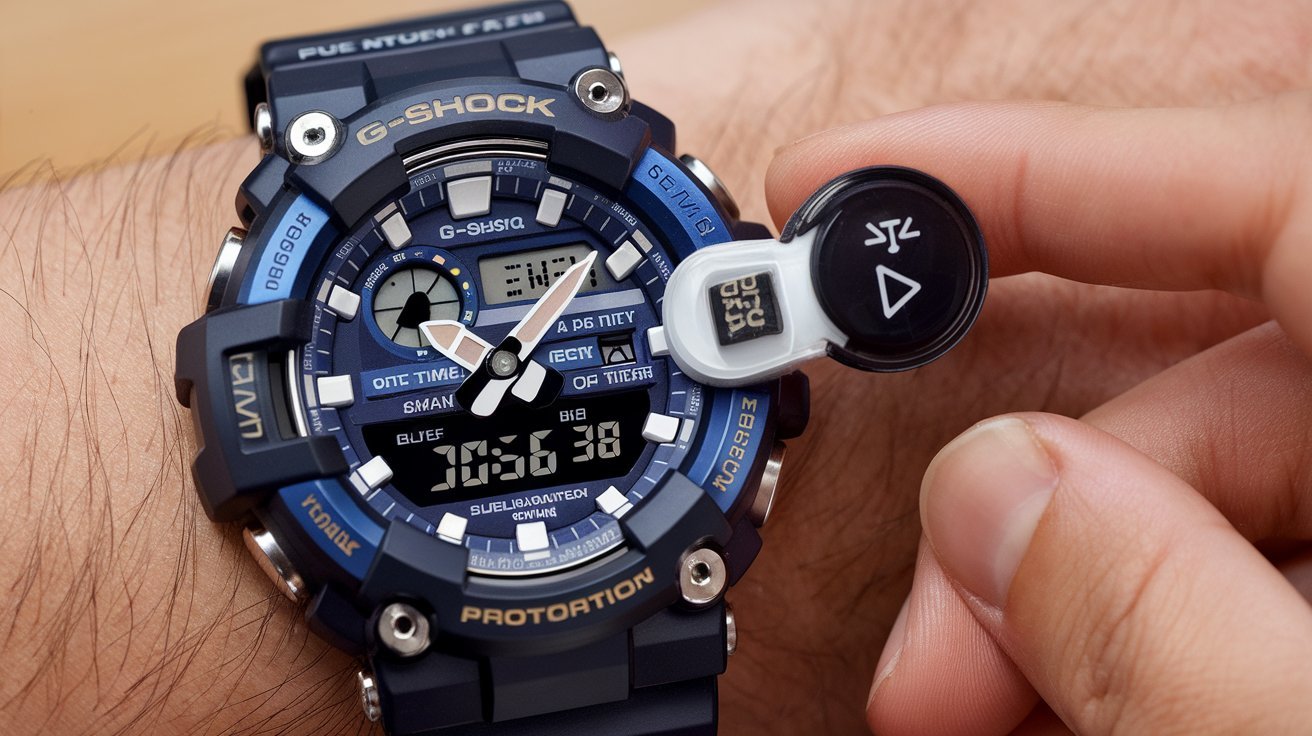
Learning how to set the time on a G-Shock is usually straightforward once we understand what each button does. Casio G-Shock watches are known for their rugged construction, but the combination of MODE, ADJUST, START/STOP, and LIGHT buttons can initially seem confusing, especially because different G-Shock models use slightly different button layouts and setting procedures.
The good news is that most digital G-Shock watches follow a similar basic process. We normally enter the Timekeeping Mode, hold the ADJUST button until the display flashes, use the appropriate buttons to move between settings, and then change the values before exiting the adjustment screen.
Because G-Shock has produced many models—including classic digital watches, analog-digital watches, Bluetooth models, and radio-controlled watches—the exact procedure can vary. The safest approach is to identify the model number on the watch and then follow its specific manual when the button sequence differs.
How to Set the Time on a G-Shock
For many standard digital G-Shock watches, the basic procedure follows these steps:
- Press the MODE button until we reach the normal time display.
- Press and hold ADJUST for several seconds.
- Wait until part of the display begins flashing.
- Use MODE to move between the hour, minute, seconds, date, month, year, and other available settings.
- Use the appropriate START/STOP or adjustment button to increase or decrease the flashing value.
- Continue checking each setting until the correct information is displayed.
- Press ADJUST again to save the changes and return to normal timekeeping.
The labels may differ depending on the model. On many G-Shock watches, the button in the upper-left corner is ADJUST, the lower-left button is MODE, the upper-right button controls an increase or start function, and the lower-right button controls another adjustment function.
The important point is that we should not assume every G-Shock uses exactly the same sequence. Model-specific instructions always take priority.
Understanding the Four Main G-Shock Buttons
Before changing the time, it helps to understand the basic function of the buttons. Most G-Shock digital watches have four primary buttons, although some advanced models have additional controls.
ADJUST is commonly used to enter and exit the settings screen. Holding this button is usually what starts the time-adjustment process.
MODE moves between the watch’s different functions. Depending on the model, these may include Timekeeping, World Time, Stopwatch, Timer, Alarm, and other modes. During time adjustment, MODE may also move the flashing selection from one setting to another.
START/STOP is commonly used to increase a selected number or operate functions such as the stopwatch. On some watches, this button may be labeled differently.
The fourth button is often used to decrease a value, activate illumination, or perform another model-specific function.
Once we understand this basic layout, setting a G-Shock becomes much easier. Instead of pressing buttons randomly, we can identify whether we are trying to enter settings, select a field, or change a value.
How to Change Hours, Minutes, and Seconds
After entering the adjustment screen, the display will normally indicate which setting is currently selected by flashing digits or an indicator.
If the hour is flashing, we can use the appropriate adjustment button to select the correct hour. Pressing the button repeatedly typically moves through the available values. On many models, holding the button can make the numbers advance more quickly.
After selecting the hour, press MODE to move to the minutes. Set the correct minute in the same way.
The seconds setting may behave differently. Many digital G-Shock models allow us to reset the seconds to 00 rather than manually selecting any second value. If the watch is a few seconds slow or fast, we can wait for the correct moment and reset the seconds precisely.
We should also check whether the watch is using a 12-hour or 24-hour display. In 12-hour mode, an indicator such as AM or PM may appear. A watch showing the correct hour but the wrong AM/PM period can cause the time to be off by 12 hours.
After checking hours, minutes, and seconds, we can move through the remaining settings and press ADJUST to finish.
How to Set the Date and Day on a G-Shock
Many G-Shock watches allow us to set more than just the time. The adjustment screen may include the year, month, date, and day of the week.
The recommended order depends on the model, but we should carefully set the date whenever the watch has been reset, the battery has been replaced, or the watch has been without power.
For example, if the display shows an incorrect year or month, the watch may calculate the day of the week incorrectly. Modern G-Shock watches often calculate the weekday automatically after the correct calendar information has been entered.
Some models also include automatic calendar functionality that accounts for the varying lengths of months and leap years.
It is important not to confuse World Time with the main timekeeping setting. A G-Shock can display a different city or time zone while the home city remains unchanged. If the watch appears to show the wrong time, we should first check the Home City and time-zone configuration before manually changing the hour.
How to Set the Time Zone and Home City
Advanced G-Shock watches often use a Home City setting instead of requiring us to manually enter a time-zone offset. The Home City tells the watch which geographical time zone should be used as the primary reference.
If the Home City is incorrect, the displayed time can remain wrong even after we manually adjust other settings.
To correct it, enter the watch’s time-adjustment mode and locate the city code or time-zone indicator. Use the appropriate buttons to select the city corresponding to our location.
Some watches also include Daylight Saving Time (DST) settings. If DST is enabled when it should be disabled—or vice versa—the displayed time can be one hour different from the expected local time.
Bluetooth-enabled G-Shock watches may offer an even easier approach. Depending on the model and supported smartphone application, the watch can synchronize its settings with a paired phone. In these cases, the exact synchronization procedure should be followed according to the model’s instructions.
Setting an Analog-Digital G-Shock
Setting an analog-digital G-Shock can require an additional step because the digital display and physical hands may need to be synchronized.
First, we normally set the digital time using the watch’s standard time-adjustment procedure. If the analog hands do not match the digital display afterward, the watch may have a separate hand-setting or hand-alignment function.
This feature can be particularly useful if the hands were moved accidentally or if they became misaligned after exposure to a strong magnetic field or another event.
The hands should not normally be moved manually like those on a conventional analog watch. Instead, we should use the watch’s electronic hand adjustment function when the model provides one.
If the digital display says 10:30 but the physical hands show 10:27, correcting the digital time alone may not solve the problem. We may need to enter the dedicated hand-position adjustment mode and synchronize the hands.
Common Problems When Setting a G-Shock
Several common issues can make setting a G-Shock confusing.
The time is one hour wrong: Check the Home City and DST setting.
The time is 12 hours wrong: Check whether the watch is using 12-hour or 24-hour format, and verify AM/PM.
The date is wrong: Re-enter the year, month, and date.
The analog hands do not match: Look for the watch’s dedicated hand alignment or hand-setting function.
The buttons seem unresponsive: Make sure the watch is in the correct mode and that we are using a normal press rather than a long press when required.
The procedure does not match the instructions: G-Shock has numerous models, and their procedures can differ. The model number should be checked before attempting unfamiliar settings.
Best Way to Set a G-Shock Accurately in 2026
The simplest method is to first identify the exact G-Shock model number, then use the corresponding Casio manual. The model number is commonly printed on the watch case, often on the back.
We should avoid relying entirely on instructions written for another G-Shock model because similar-looking watches can have different button functions and menus.
For everyday accuracy, it is also useful to check the watch’s Home City, DST setting, 12/24-hour format, calendar, and analog hand alignment rather than changing only the hour and minute.
For Bluetooth or radio-controlled models, automatic synchronization can reduce the need for manual adjustment. However, these functions depend on the specific watch and supported technology.
Final Thoughts
Knowing how to set the time on a G-Shock becomes simple once we understand the watch’s adjustment system. On many models, we enter Timekeeping Mode, hold ADJUST, use MODE to select the desired setting, change the value with the appropriate button, and press ADJUST again to save everything.
For more advanced models, we may also need to configure the Home City, DST, calendar, World Time, or analog hand position.
The most important tip is to use the exact manual for the specific G-Shock model whenever the standard procedure does not work. With hundreds of G-Shock variations available, model-specific instructions provide the most reliable way to make accurate adjustments without accidentally changing another function.
Frequently Asked Questions
Which button sets the time on a G-Shock?
On many models, we hold the ADJUST button to enter the time-setting screen. The exact procedure varies by model.
Why is my G-Shock time one hour behind?
The DST setting or Home City/time-zone setting may be incorrect. Check both before manually changing the hour.
Why is my G-Shock 12 hours off?
The watch may be displaying the opposite AM/PM period. Check whether it is configured for 12-hour or 24-hour time.
Can we set a G-Shock without the manual?
Basic models can often be adjusted using the standard button sequence, but consulting the specific model manual is recommended because G-Shock functions differ between models.
How do we set an analog G-Shock?
Set the digital time first. If the physical hands do not match, use the model’s hand-position adjustment function to synchronize them.
Can a G-Shock set the time automatically?
Some models support Bluetooth smartphone synchronization or radio-controlled timekeeping. Availability depends on the specific model and region.



 Lifestyle2 months ago
Daily Living Tools That Make Life Easier for Seniors
- Celebrity2 months ago
Edith Sarfati: A Closer Look at Her Life, Career, Family, and Lasting Legacy
- Blog2 months ago
RTI Scheduler: The Complete Guide to Flexible Student Scheduling in Modern Schools
- Technology2 months ago
AICOT: Transforming the Future of Artificial Intelligence and Connected Technology
- Business2 months ago
TravelTweaks Offers 2026 | Complete Guide to Travel Deals, Discounts & Smart Travel Planning
- Entertainment2 months ago
Bodenxt: A Complete Guide to Features, Benefits, Applications, and Future Potential
- Business2 months ago
Latest News MyGreenBucksNet (2026): Complete Guide to Platform Updates, Features, Earnings, and User Experience
- Celebrity2 months ago
Toni Camille: Biography, Career, Achievements, Personal Life, and Growing Public Interest in 2026